
Airpods are one of the most used truly wireless stereos in the whole world. This is a great invention by Apple which helps you to listen to your favorite music, podcasts and videos etc where you go without the hassle of wire. But this TWS feels more amazing with a ton of customizations it offers.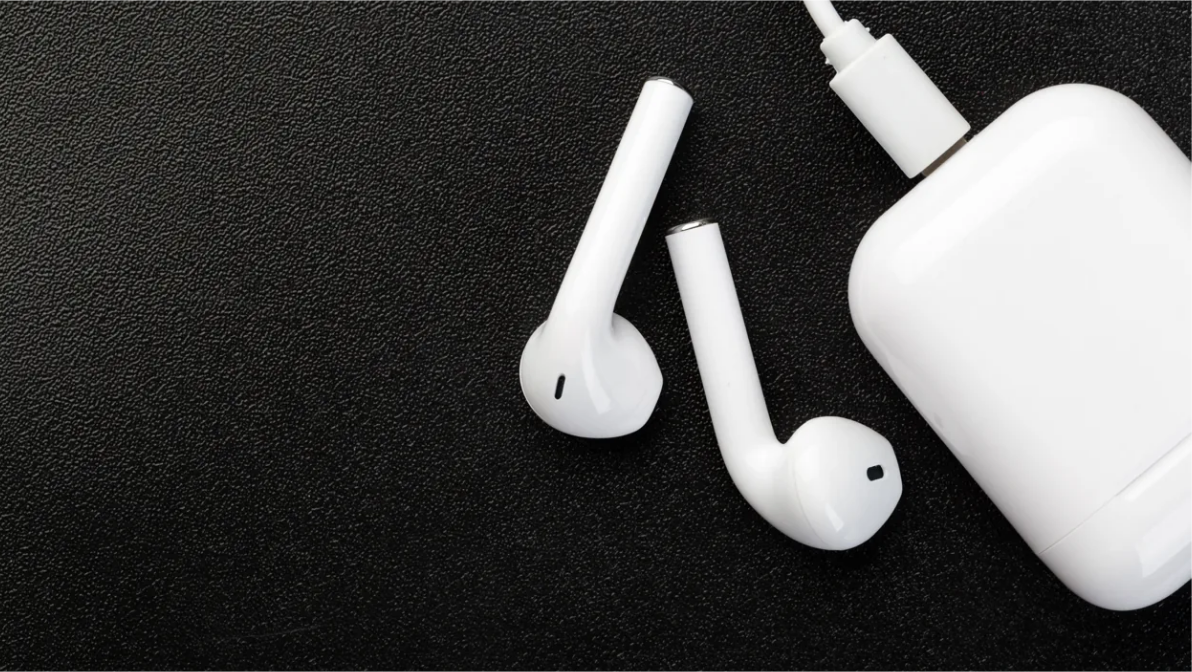
These customizations include gestures like double tapping to skip the song, talking to Siri etc. These are default gestures but you can change them as well with simple steps. If you want to make some changes to the customizations of your Airpods, you are at the right place.
In this article, we’ll tell you the default Airpods Settings and how to change them.
How to Modify Airpods Settings?

Users of AirPods may now modify a number of settings according to one’s needs. You may give your AirPods a new name, alter the functionality of the double-tap gesture, and more.
You may also use one AirPods as a microphone or change the noise-cancellation settings. There are many such customizations to your Airpods. If that’s something you’re interested in learning, here’s how you can do the same.
There are different generations of Airpods and the amount of customization depends on it. Every customization is not available for every model of Airpods. Here are all the customizations for every model of Airpods.
How to Customize 2nd and 3rd Generation Airpods?
The 2nd and the 3rd generation AirPods are the most used ones. It offers users to customize some settings. There are mainly 4 customizations available. They are mentioned below.
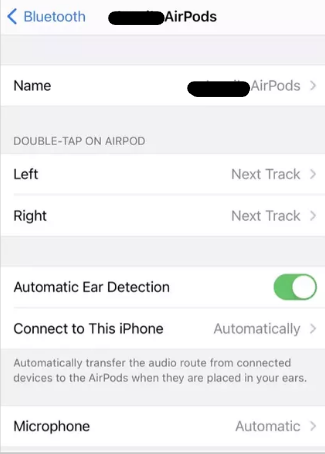
- Name – You can change the name of your AirPods making it easier to locate your AirPods if there are many.
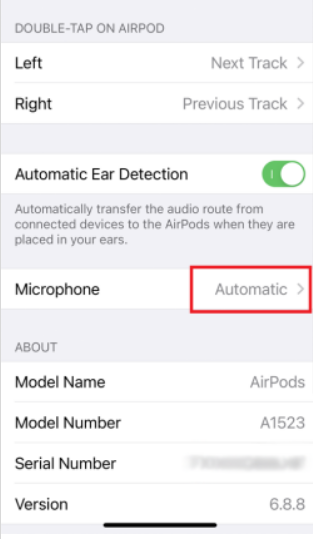
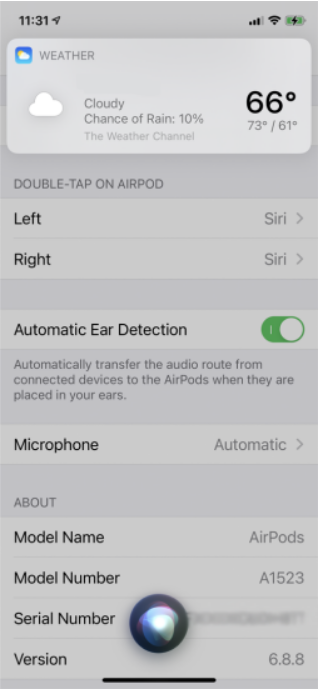
- Double-Tap Customizations – To configure the action of double taps on your either AirPods, tap on “Left” or “Right”. There are mainly these actions on your double-tap i.e. activate Siri, play/pause the music, go to the next or previous track, or disable the feature entirely.

- Automatic Ear Detection – Toggle the option to enable or disable AirPods’ ability to recognise when they are in a user’s ears. If enabled, your phone’s audio will begin playing as soon as you insert the AirPods and stop when you remove either pod.
- Microphone – Select which AirPods will act as the caller’s microphone by tapping the “Microphone” option. If you set it to “Automatic”, the mic will get transferred according to the AirPods you are using.

Now that we have discussed the customizations, let’s head on to the process.
- Bring your Airpods near to your iPhone, and open its case or put the AirPods in the ears.
- Now that the AirPods are connected, head on to the settings page of the iPhone.
- In the settings, open “Bluetooth”. You’ll find a list of Bluetooth devices connected to your iPhone.
- In the list, locate your AirPods and tap on the “i” icon next to it.
- On the next page, you’ll find all the settings that you can change on your AirPods.
How to Customize AirPods Pro Settings?
The Apple AirPods are almost the same as the 2nd and 3rd generation. So, the process is pretty much the same and you’ll get almost the same customizations except one, i.e. instead of tapping customizations, you’ll get:
- Force Sensors – There’s a force sensor at the stem of the AirPods pro. This customization is about the action when you press the force sensor on either of your AirPods. The customizations include activating Siri and switching between active noise cancellation and transparency mode.
The process is the same as that of AirPods 2nd and 3rd generation. Here’s how you can do it.
- Connect your AirPods to your phone.
- Go to Settings>Bluetooth.
- You’ll find a list of Bluetooth devices connected to your iPhone.
- In the list, locate your AirPods and tap on the “i” icon next to it.
- On the next page, you’ll find all the settings that you can change on your AirPods.
How to Customize AirPods Max Settings?
The all-new AirPods Max is the first over-the-head earphone released by Apple. Since it’s a completely new design, the customizations are quite different. In addition to the basic customizations like renaming the device, you have the following new customizations.
- Noice Control Button– If you’re on iOS 14.3 or later, tapping the “Noise Control” button will bring up a menu where you may choose the sound mode which you want to switch.
- Automatic Head Detection- Like Ear Detection on older AirPods models, you may turn this feature on and off so that your AirPods Max automatically detects when you’re wearing them and begin playing music at the proper volume.
- Rotation Direction– You can tap on “Digital Crown” which allows you to select the direction you’d like to turn your digital crown in order to increase or decrease volume.
The process to change or alter these settings is almost the same as that of AirPods pro, 2nd and 3rd generation. Here’s how you can customize the settings of AirPods Max.
- Connect your AirPods Max to your device.
- Go to Settings>Bluetooth.
- You’ll find a list of Bluetooth devices connected to your iPhone.
- In the list, locate your AirPods and tap on the “i” icon next to it.
- On the next page, you’ll find all the settings that you can change on your AirPods.
That’s all the customizations you can perform on the different generations of AirPods. I hope this article helped you. In case of any doubt, do let us know in the comment section below.